How to use LightGBM in five steps: install the package with pip install lightgbm, wrap your table in an lgb.Dataset, set an objective and a few tree parameters, call lgb.train (or LGBMClassifier / LGBMRegressor if you prefer the scikit-learn API), then predict and save the model. That covers most tabular work. LightGBM is a gradient boosting library for decision trees. It is not a deep learning framework, and it shines when your data is rows and columns rather than images or raw text.
This walkthrough follows the official Python package introduction, the PyPI page for lightgbm 4.7.0, the installation guide and the Features page, all checked on November 7, 2026. Nothing below was run first hand on this machine; treat the code as a faithful condensation of those docs.
What LightGBM is
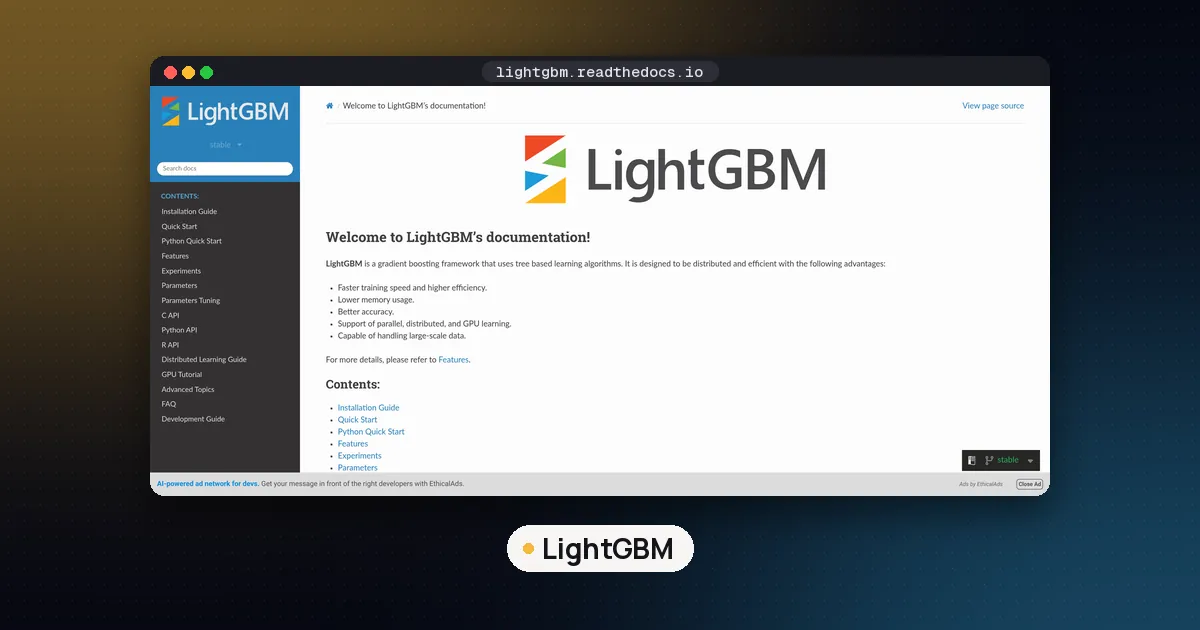
LightGBM (Light Gradient Boosting Machine) builds an ensemble of decision trees by gradient boosting. The Features page explains the two design choices that usually matter in practice:
- Histogram based splits. Continuous features are bucketed into discrete bins before training. That cuts memory use and makes split finding cheaper than a full pre sort of every value.
- Leaf wise (best first) growth. At each step LightGBM grows the leaf that reduces loss the most, instead of growing every level of the tree evenly. Holding the leaf count fixed, that often reaches a lower loss than level wise growth. On small datasets it can overfit, so you can cap depth with
max_depth.
It also splits categorical features by partitioning categories into two groups, instead of forcing one hot encoding. The same Features page notes that this is much faster than one hot for high cardinality categories.
The library started at Microsoft Research (the NIPS 2017 paper is cited on that Features page). The v4.7.0 release notes say the GitHub org moved from Microsoft to lightgbm-org and the default branch is now main. The license on the Python package is MIT.
If you are still choosing a classical stack, our roundup of the best ML frameworks for Python places LightGBM next to XGBoost for tabular boosting, after scikit-learn as the usual baseline.
What you need before you start
| Item | What to use | Notes |
|---|---|---|
| Python | 3.10 or newer | PyPI lists 3.10 through 3.14 for 4.7.0 |
| Package | lightgbm 4.7.0 | Current release on PyPI, published July 18, 2026 |
| OS | Linux, Windows, macOS | 64 bit Python only |
| macOS extra | brew install libomp | OpenMP is required for the wheel |
| Optional extras | pandas, polars, scikit-learn, plotting, dask, arrow | Install with pip install 'lightgbm[extra]' |
| GPU | Optional | OpenCL GPU on Linux and Windows wheels; CUDA needs a CUDA build |
The preferred install from the Python introduction is:
python3 -m venv lgbenv
source lgbenv/bin/activate
pip install --upgrade pip
pip install lightgbm
Then check the import:
import lightgbm as lgb
print(lgb.__version__)
On macOS, install OpenMP first (brew install libomp) or the shared library fails to load. For conda, the docs also support conda install -c conda-forge lightgbm, and those packages can include GPU and CUDA builds.
Useful extras from the PyPI README:
pip install 'lightgbm[scikit-learn]'   # LGBMClassifier, LGBMRegressor
pip install 'lightgbm[pandas]'         # pandas DataFrame helpers
pip install 'lightgbm[polars]'         # polars DataFrame inputs (new in 4.7.0)
pip install 'lightgbm[plotting]'       # plot_importance and friends
Version 4.7.0 added polars support through the narwhals dependency. That is the highlight called out in the release notes.
Step 1: Load data into a Dataset
LightGBM trains on an lgb.Dataset, not on a raw NumPy array alone. The Python introduction says a Dataset can come from a LibSVM or CSV text file, a NumPy 2D array, a SciPy sparse matrix, a pandas or polars DataFrame, a pyarrow Table, a LightGBM binary file, or a custom Sequence.
Minimal NumPy example:
import numpy as np
import lightgbm as lgb

rng = np.random.default_rng(0)
X = rng.uniform(size=(500, 10))
y = rng.integers(low=0, high=2, size=(500,))

train_data = lgb.Dataset(X, label=y)
Validation data should share the same feature layout. Create it with a reference to the training set so bins stay aligned:
X_val = rng.uniform(size=(100, 10))
y_val = rng.integers(low=0, high=2, size=(100,))
valid_data = lgb.Dataset(X_val, label=y_val, reference=train_data)
Name features and mark categoricals when you have them:
train_data = lgb.Dataset(
    X,
    label=y,
    feature_name=["c1", "c2", "c3", "c4", "c5", "c6", "c7", "c8", "c9", "c10"],
    categorical_feature=["c3"],
)
For array inputs, convert categorical columns to non negative integers before building the Dataset. For pandas inputs with a categorical dtype, integer codes are extracted automatically. With the default categorical_feature="auto", only unordered categoricals are auto detected.
You can also save a Dataset to a LightGBM binary file after the first load (train_data.save_binary("train.bin")) so later runs skip the text parse.
Step 2: Set parameters and train
Parameters are a plain Python dictionary. A typical binary classifier looks like this:
params = {
    "objective": "binary",
    "metric": "auc",
    "num_leaves": 31,
    "learning_rate": 0.05,
    "feature_fraction": 0.9,
    "bagging_fraction": 0.8,
    "bagging_freq": 5,
    "verbose": -1,
}

bst = lgb.train(
    params,
    train_data,
    num_boost_round=200,
    valid_sets=[valid_data],
    callbacks=[lgb.early_stopping(stopping_rounds=20)],
)
Key ideas from the Parameters list:
objective:regression(default),binary,multiclass(setnum_classtoo), ranking objectives such aslambdarank, and others.num_leaves: main complexity knob for leaf wise trees. The default is 31.learning_rate: smaller values need more boosting rounds.metric: can be a string or a list, for example["auc", "binary_logloss"].
Early stopping needs at least one validation set and one metric. The callback stops when the validation score has not improved for stopping_rounds rounds. After training, bst.best_iteration holds the best round, and train returns the model from that iteration when early stopping is on.
Save and reload:
bst.save_model("model.txt", num_iteration=bst.best_iteration)
bst2 = lgb.Booster(model_file="model.txt")
Cross validation without writing your own folds:
cv_results = lgb.cv(params, train_data, num_boost_round=200, nfold=5)Step 3: Predict and inspect the model
y_pred = bst.predict(X_val, num_iteration=bst.best_iteration)For a binary objective, predict returns probabilities. Threshold them yourself (for example at 0.5) if you need class labels. For feature contributions, the Features page documents Shapley style values via pred_contrib=True:
contrib = bst.predict(X_val, pred_contrib=True)That returns one column per feature plus a bias column. Summing the columns recovers the raw score.
Step 4: Use the scikit-learn API
If your pipeline already uses scikit-learn, install the extra and use the estimator classes:
pip install 'lightgbm[scikit-learn]'from lightgbm import LGBMClassifier
from sklearn.datasets import load_breast_cancer
from sklearn.model_selection import train_test_split
X, y = load_breast_cancer(return_X_y=True)
X_train, X_test, y_train, y_test = train_test_split(X, y, random_state=0)
clf = LGBMClassifier(
n_estimators=200,
learning_rate=0.05,
num_leaves=31,
)
clf.fit(X_train, y_train, eval_set=[(X_test, y_test)])
print(clf.score(X_test, y_test))LGBMRegressor follows the same pattern for continuous targets. These classes expose fit, predict and predict_proba, so they drop into a scikit-learn Pipeline or GridSearchCV. Our TensorFlow vs scikit-learn guide is the place to decide when a tree booster is enough and when you need a neural network in TensorFlow or PyTorch instead.
How to use LightGBM with a GPU
The PyPI wheel on Linux and Windows already includes the OpenCL GPU path. You only need working OpenCL drivers. Pass the device in parameters:
params["device"] = "gpu"   # OpenCL GPU path
# or, with a CUDA build:
# params["device"] = "cuda"
Do not confuse the two:
| Build | Parameter | Platforms | Notes |
|---|---|---|---|
| Default wheel | device: "gpu" | Linux, Windows | OpenCL; drivers usually come with the GPU |
| CUDA build | device: "cuda" | Linux | Full training on NVIDIA GPUs; build with USE_CUDA=ON or use conda-forge |
| ROCm build | device: "cuda" (reused name) | Linux + AMD | From the 4.7.0 release notes |
macOS does not support the GPU or CUDA builds. For NVIDIA CUDA from source, the install guide asks for compute capability 6.0 or higher and shows CMake flags such as -DUSE_CUDA=ON. Conda-forge packages since 4.4.0 can pick a CUDA build automatically when CUDA is present on Linux.
CPU training is still the right default for small and medium tables. Reach for GPU when histograms over millions of rows start to dominate wall time.
LightGBM vs XGBoost vs scikit-learn HistGradientBoosting
| Item | LightGBM | XGBoost | scikit-learn HGB |
|---|---|---|---|
| Tree growth | Leaf wise (best first) | Level wise by default | Level wise histogram |
| Categorical splits | Native | Native in recent versions | Limited |
| Typical API | lgb.train or LGBM* | XGBClassifier | HistGradientBoostingClassifier |
| GPU | OpenCL gpu or CUDA cuda | device="cuda" | Experimental array API only |
| License | MIT | Apache 2.0 | BSD 3 clause |
Start with scikit-learn's HistGradientBoostingClassifier when you want zero extra dependencies. Move to LightGBM or XGBoost when you need more control, distributed training, ranking objectives or a dedicated GPU path. For deep learning on images, audio or text, neither booster replaces TensorFlow or PyTorch; see how to use TensorFlow in Python for that path.
Common mistakes
- Forgetting a validation set with early stopping. The callback requires at least one entry in
valid_setsand a metric. Without them, training just runs allnum_boost_roundrounds. - Treating categoricals as floats. Mark them with
categorical_featureor use a pandas categorical dtype. Blind one hot encoding wastes the native split logic. - Huge
num_leaveson a small table. Leaf wise growth overfits quickly. Cap withnum_leavesandmax_depth, and keep early stopping on. - Expecting deep learning behaviour. LightGBM does not train neural nets. It is a tree booster for tabular and ranking tasks.
- Assuming the wheel is CUDA ready. The default wheel's GPU path is OpenCL. CUDA needs a CUDA enabled build or conda-forge on Linux.
FAQ
How does LightGBM work?
LightGBM fits a sequence of decision trees. Each new tree predicts the gradient of the loss with respect to the current ensemble, so the sum of trees moves predictions toward lower loss. Splits are found on feature histograms, and trees grow leaf wise. The Features page and the 2017 NIPS paper linked there are the primary references.
What is a LightGBM model?
A trained LightGBM model is a Booster: a list of trees plus metadata (objective, feature names, best iteration). You save it as a text file with save_model, reload it with lgb.Booster(model_file=...), and call predict on new rows. The scikit-learn wrappers store that booster inside LGBMClassifier or LGBMRegressor.
Is LightGBM deep learning?
No. Deep learning means neural networks with layers and backpropagation through tensors. LightGBM is gradient boosting of decision trees. Use it for tabular data and ranking. Use TensorFlow, PyTorch or similar when you need convolutional nets, transformers or other neural architectures.
How do I use a LightGBM regressor in Python?
Install the scikit-learn extra, then:
from lightgbm import LGBMRegressor
reg = LGBMRegressor(n_estimators=300, learning_rate=0.05)
reg.fit(X_train, y_train)
y_hat = reg.predict(X_test)
Or use the functional API with "objective": "regression" (or regression_l1, huber, quantile, and so on) and lgb.train.
Can LightGBM use a GPU?
Yes on Linux and Windows. Set device to "gpu" for the OpenCL path that ships in the default wheel, or build or install a CUDA package and set device to "cuda". macOS has no GPU or CUDA build. See the installation guide for CMake flags if you compile from source.
Is LightGBM free?
Yes. The Python package is MIT licensed open source. There is no paid tier from the project. You still pay for your own machines or cloud GPUs if you use them.
Next steps
- Install 4.7.0 in a virtual environment and run the Dataset plus
lgb.trainexample above on a small CSV of your own. - Add early stopping and log both AUC and log loss so you can see when training should stop.
- If you already live in scikit-learn pipelines, switch to
LGBMClassifierorLGBMRegressor. - Compare against XGBoost on the same split before you buy GPU time.
- For framework shopping across deep learning and classical ML, keep best ML frameworks for Python and TensorFlow vs scikit-learn open while you decide.